

Muslim Save The Date Project
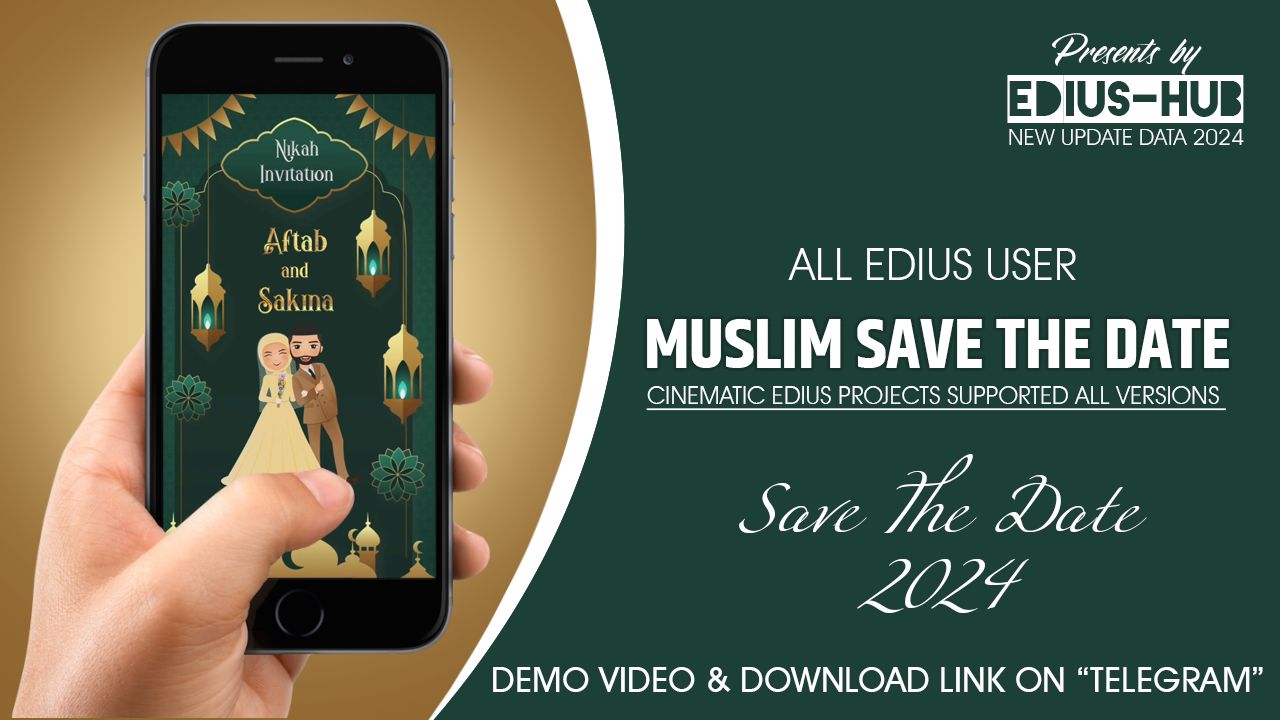
PROJECT:- Save The Date Project
VERSION:- 8/9/10 & 11 More New
FILE:- .ezp
Contact EDIT HUB
E-mail support@edithub.in | Call -WA +91 89288
This Muslim SAVE THE DATE Radius Edius All Version Support Template is the perfect tool for creating classy, personalized Save The Date that capture the essence of a Muslim wedding.
It seems I couldn't generate the image you requested. However, I can provide a step-by-step guide to help you create a "Save the Date" project in EDIUS video editing software:
1. Create a New Project:
- Open EDIUS and create a new project via File > New Project.
- Set the video format (e.g., 1080p or 4K) and frame rate (usually 24fps or 30fps).
- Name your project, and click OK.
2. Import Media Files:
- Import your wedding video footage, images, or any pre-designed elements like logos or graphics by going to File > Import.
- Drag the media files onto the timeline.
3. Add Text Layers for 'Save the Date' Title:
- In the Timeline, click on the Text Tool (T icon) and select New Title.
- Use elegant, romantic fonts such as cursive or handwritten styles for your "Save the Date" title.
- Include important details like the couple’s names, the wedding date, and a friendly invitation tone.
4. Customize the Text:
- Adjust the font size, colour, and positioning to ensure the title is visually appealing.
- Use soft pastel colours (like blush pink, ivory, lavender) to give a romantic feel.
- Add a slight shadow or glow to make the text stand out.
5. Incorporate Wedding Graphics and Icons:
- Add wedding-themed graphics like rings, flowers, or doves around the text.
- You can also use animations for the elements, such as fade-ins or zoom effects to bring the graphics to life.
6. Apply Transitions and Effects:
- Apply smooth transitions like fade or zoom-in for text and images to create an elegant flow.
- For the background, use soft-focus bokeh effects or pastel-coloured backdrops to maintain the soft, romantic atmosphere.
7. Design the Background:
- Use wedding-themed footage or blurry images of the couple, the venue, or wedding decor.
- You can also import custom wedding graphics as background layers and adjust their opacity to keep the focus on the text.
8. Timing and Final Adjustments:
- Ensure the text and transitions are timed well with the background music or video clips.
- Fine-tune the duration of each text element to match the rhythm of the video.
9. Export the Project:
- Once satisfied, go to File > Export and choose your desired format (e.g., MP4, MOV).
- Render the project for the final output to share with your wedding guests as a Save the Date video.
This guide will help you create a beautiful and professional "Save the Date" video announcement using EDIUS. If you need more tips or help with specific effects, feel free to ask!
